For most conservative, and even some adventurous people, 9 psi on a KA24DE is plenty of power for a light, sporty, rear-wheel drive car. But as said before, once the power bug bit me, there was no reprieve from its influence. While the car seemed plenty reliable, I wanted to be absolutely certain that the engine could endure anything I threw at it, that is, I wanted a fully-built engine.
At first, I wanted to make the build at least somewhat economical--it's hard to make money when you're a full-time student at a demanding school--but the more I thought about it, the more I realized that the rational thing to do was to put into practice the maxim I had learned painfully so many times before: do it right the first time, without cutting corners, or the checkbook. And so my first engine build would be a complete overhaul--nothing exotic, but thoroughly and thoughtfully planned out.
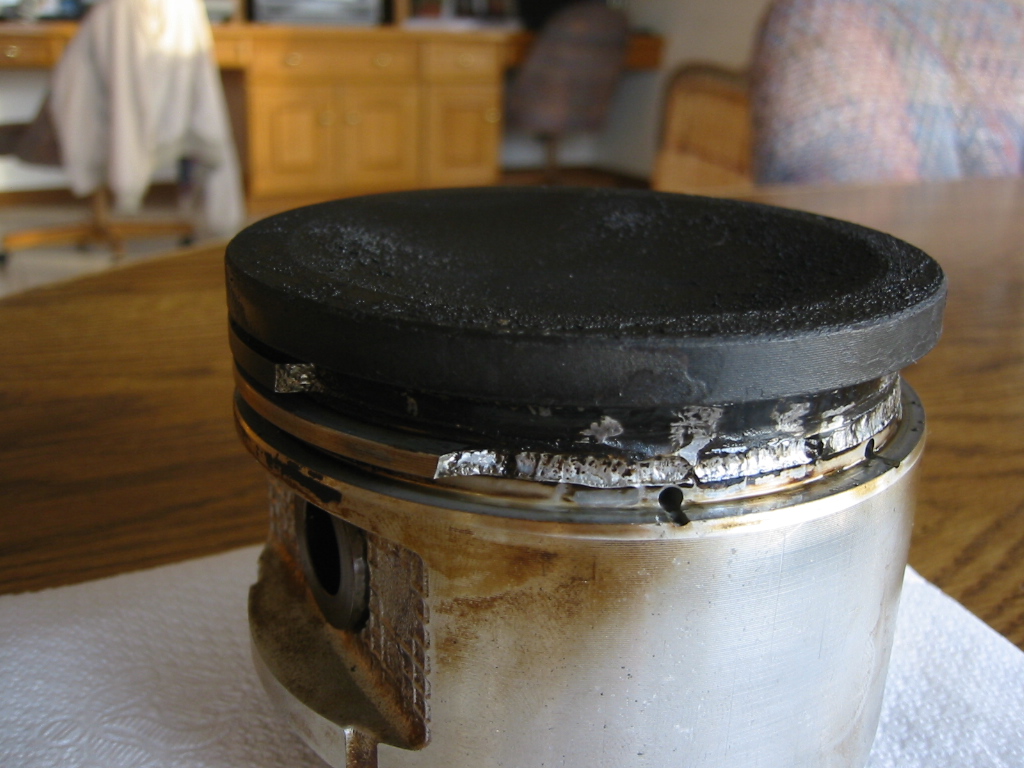
Coincidentally, it seems my idea to rebuild the whole engine with turbo-ready components came just in time--the above picture is one of the stock pistons pulled from the engine before being rebuilt the first time. The machinist said the pistons "literally dropped out" of the head. The KA24DE's top end (that is, its pistons and rings) is notoriously weak when it comes to boost, but its bottom end (crankshaft, connecting rods, oil squirters) was thankfully hailed for its stoutness under boost. Of course, I wanted an explanation for these blown ring-lands besides inherent weakness--something must have happened.
These pistons had about 95,000 miles on them, about 2000 of which were turbocharged (at first about ~7 psi, then ~9-10 psi).
The engine was intercooled with a very large, efficient intercooler, and also had alcohol injection since day one. 93 octane gas was used exclusively. The fuel system was a JWT ECU programmed for 370 cc SR fuel injectors that I had cleaned, flow-tested, and blue-printed by RC-Engineering. Stock MAFS, Aeromotive adjustable fuel pressure regulator (turned down 2 psi at idle to compensate for the inherent richness of the JWT ECU). Timing was advanced 2 degrees at idle after logging the timing with my Blitz R-VIT II to see how needlessly conservative JWT's timing maps were. To check out the thread where I posted the timing numbers, go here:
http://forums.nicoclub.com/zerothread?id=79664
The injectors never exceeded an 89% duty cycle. The turbo was a T3 super 60, .48 a/r turbine, .60 a/r compressor and put out 10 psi up until 5000 rpm, after which it only put out 7-8 psi to redline (~6750 RPM). The machinist said it looked to him like there wasn't enough fuel. In my opinion, there WAS enough fuel, but too much air, I believe. My MAFS reached max voltage past 5000 rpm in every gear (5.11 volts), meaning at full boost when I exceeded 5000 RPM (which was actually RARELY done), the MAFS couldn't meter any more air (no more fuel), but more air was being ingested, causing a lean condition.
However, according to the narrow-band oxygen reading recorded by the Blitz R-VIT (which, of course, needs to be taken with a grain of salt), the A/F ratio never became leaner than what I'd consider a safe 12.5:1, except at 1 point in 4th gear around 5000 rpm when it's 13:1 (but 5000 RPM in 4th gear equates to triple digit speeds, so again, I almost never went up there).
The car ran like a champ and felt extremely powerful right up to the point when I parked it and yanked the engine. I never once heard a ping, and it felt really, really fast. So unless these cracked ring-lands happened the last day I drove the car (I did really beat the hell out of it, the first time since its being turbocharged), then the car performed amazingly well given the lack of compression and destroyed ring-lands.
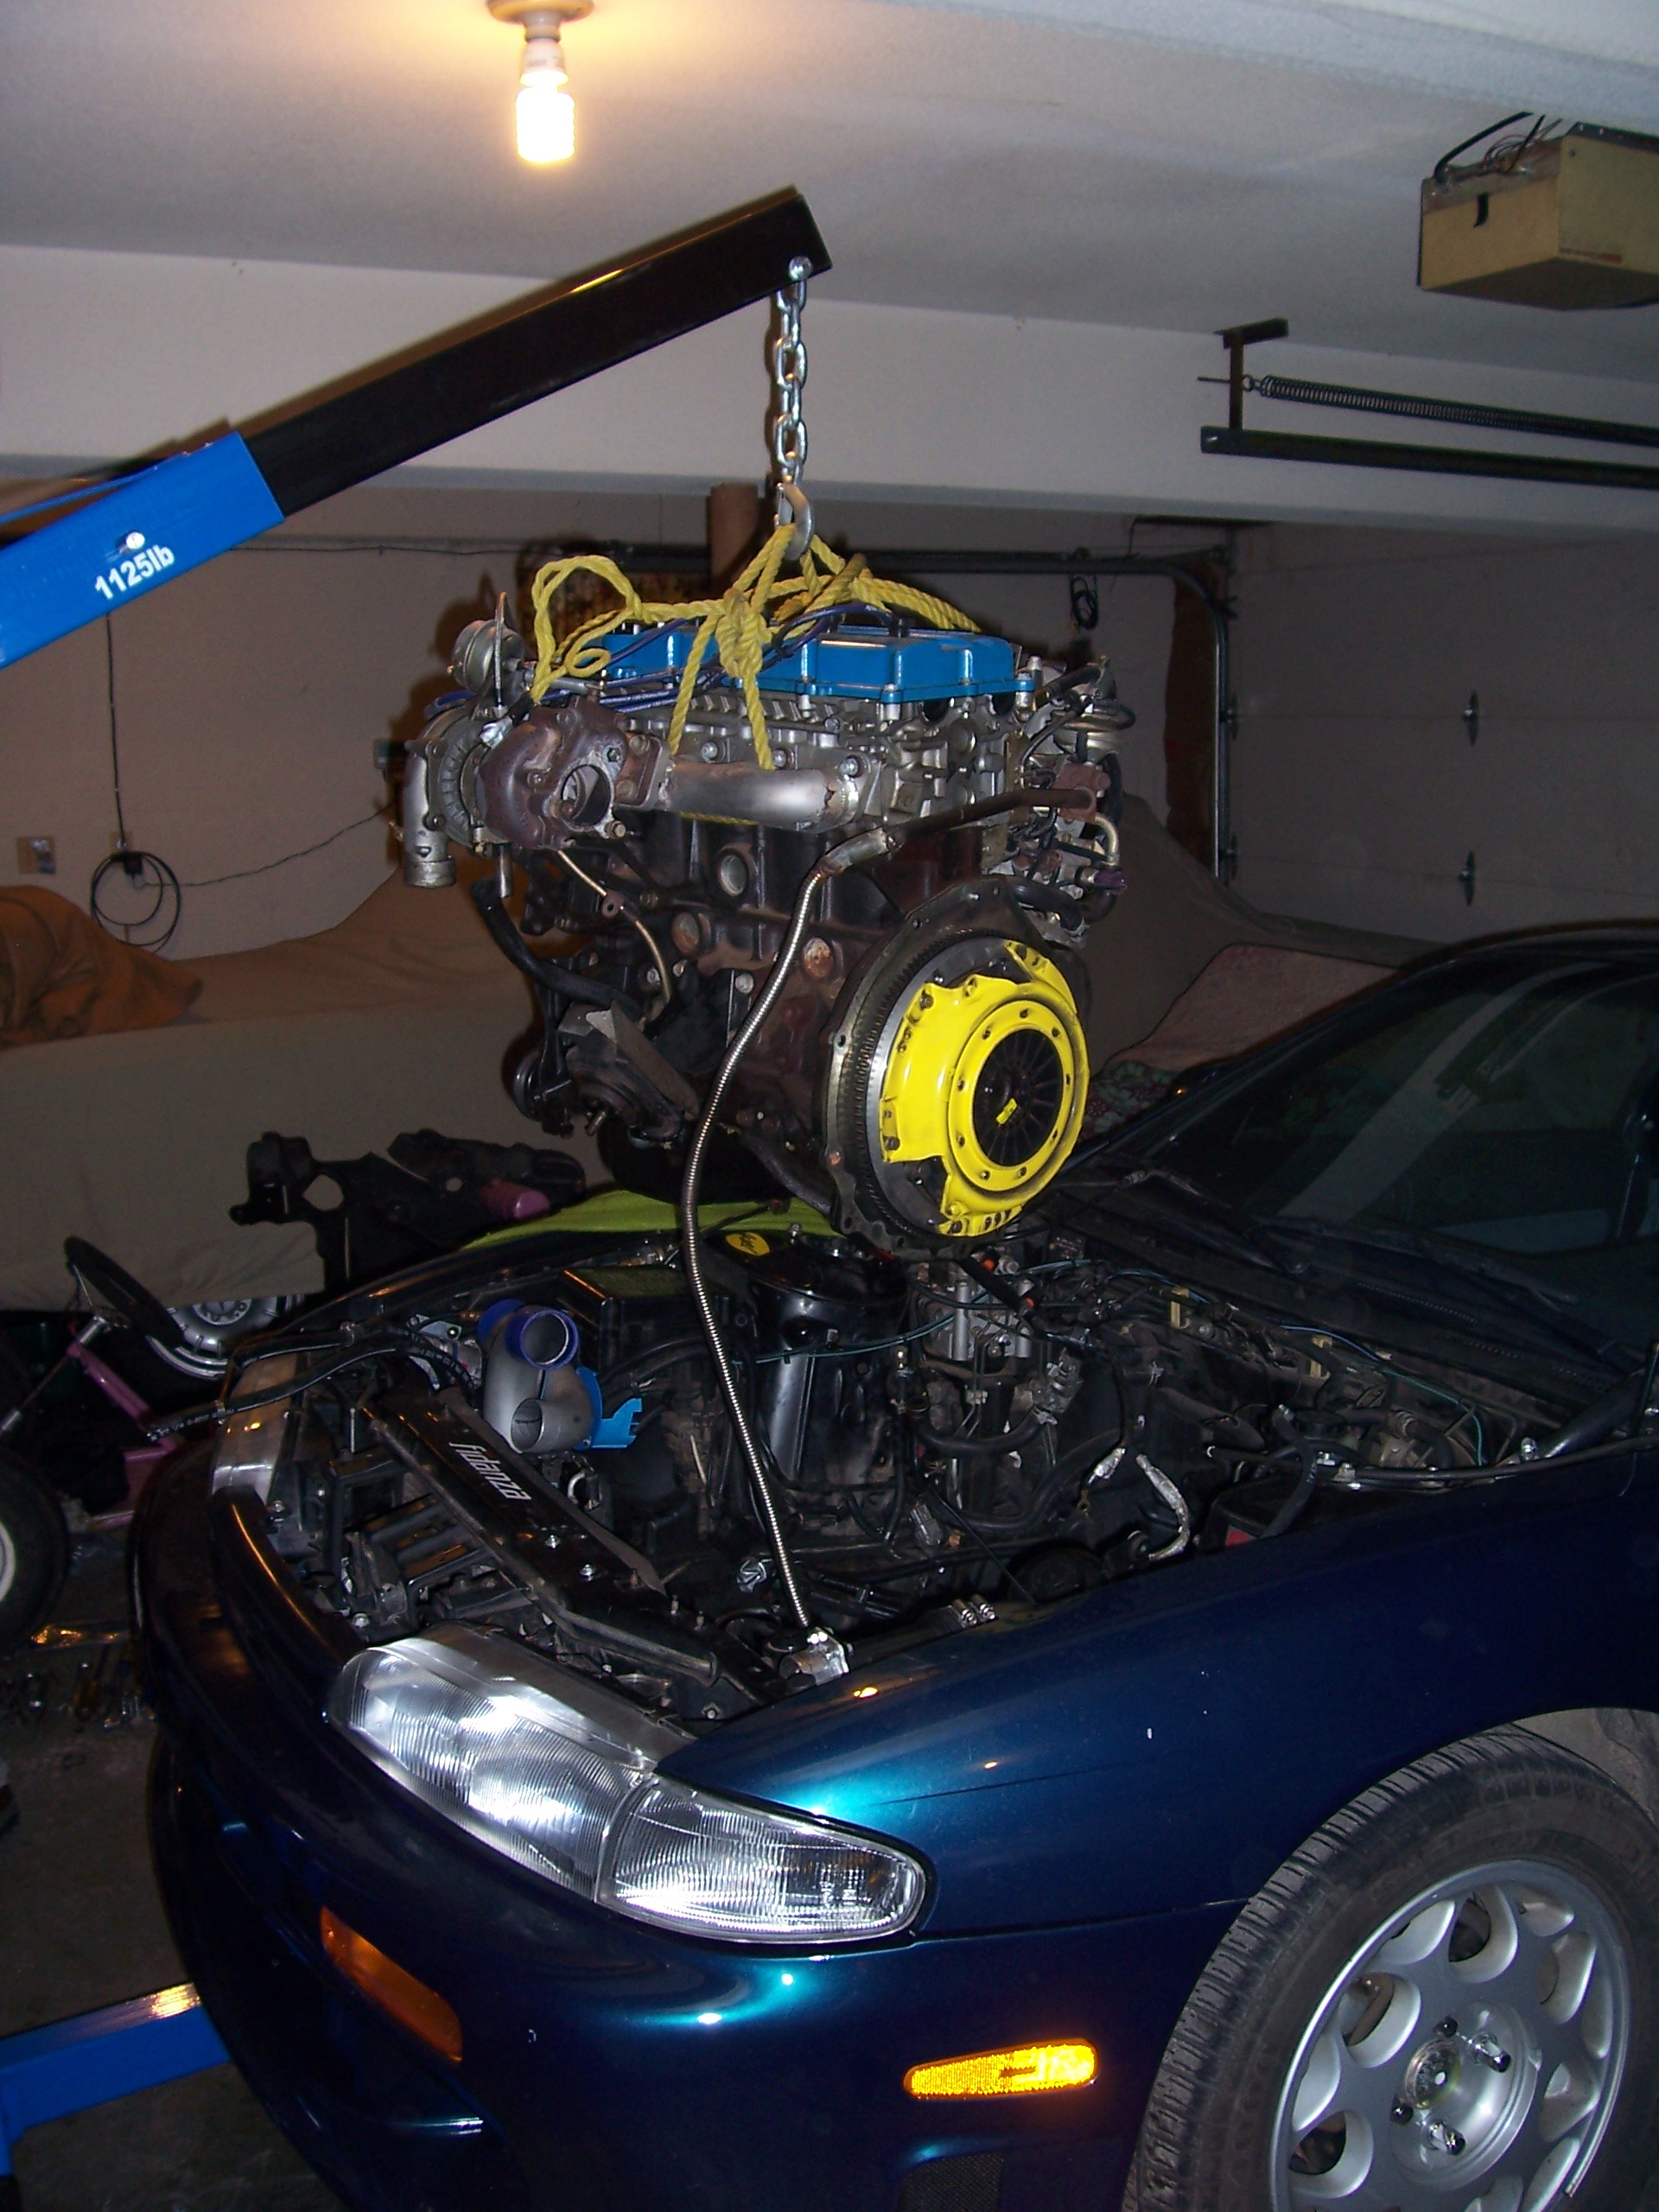
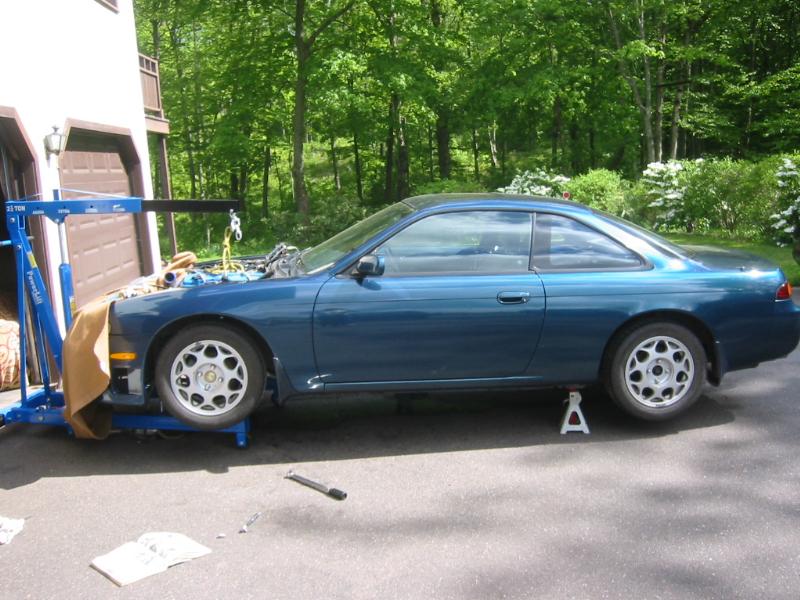
And so with no good explanation, I resolved that when I got the engine back, I would turn down the boost to 8 psi, breaking the engine in (not under boost) for at least 500 miles, and not go past 8 psi until I had the money for 50 lb/hr fuel injectors and a Z32 or Cobra MAFS. In any case, I first had a formidable task: disemboweling the car of its the engine and transmission. It took a weekend's worth of work to remove; here are some pictures:
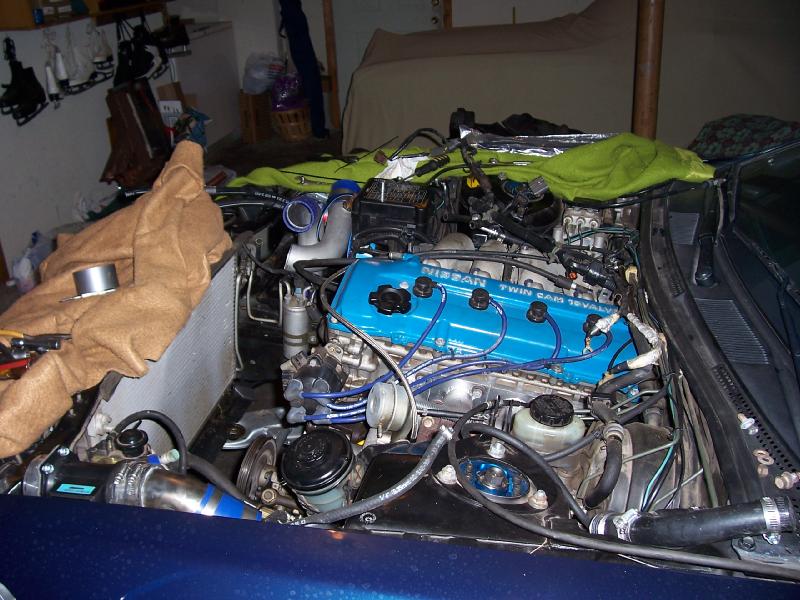
The first day I enthusiastically disconnected everything in sight (perhaps too enthusiastically, because life would have been easier when installing the engine if I had done some diligent labeling!). I drained all the fluids (tranny oil, coolant, engine oil), removed the air-intake tubes for the turbo, removed the radiator, hoses, exhaust/downpipe, cold side intercooler pipes, fuel pressure regulator, return/feed fuel lines, heater lines from the block, tons of electrical connections, vacuum hoses, etc.
On the second day of the removal, because the FSM told me so, I removed the alternator, power steering pump and AC compressor and all accessory belts (power-steering pump and AC compressor were just set aside in the engine compartment so I didn't need to mess around with recharging the system with freon). Then my dad and I dropped the transmission, which wasn't that big of a deal except for the fact that things move slowly when there's only one creeper and the car's barely high enough to slide under!
The transmission weighed 91 pounds, if anyone was wondering.
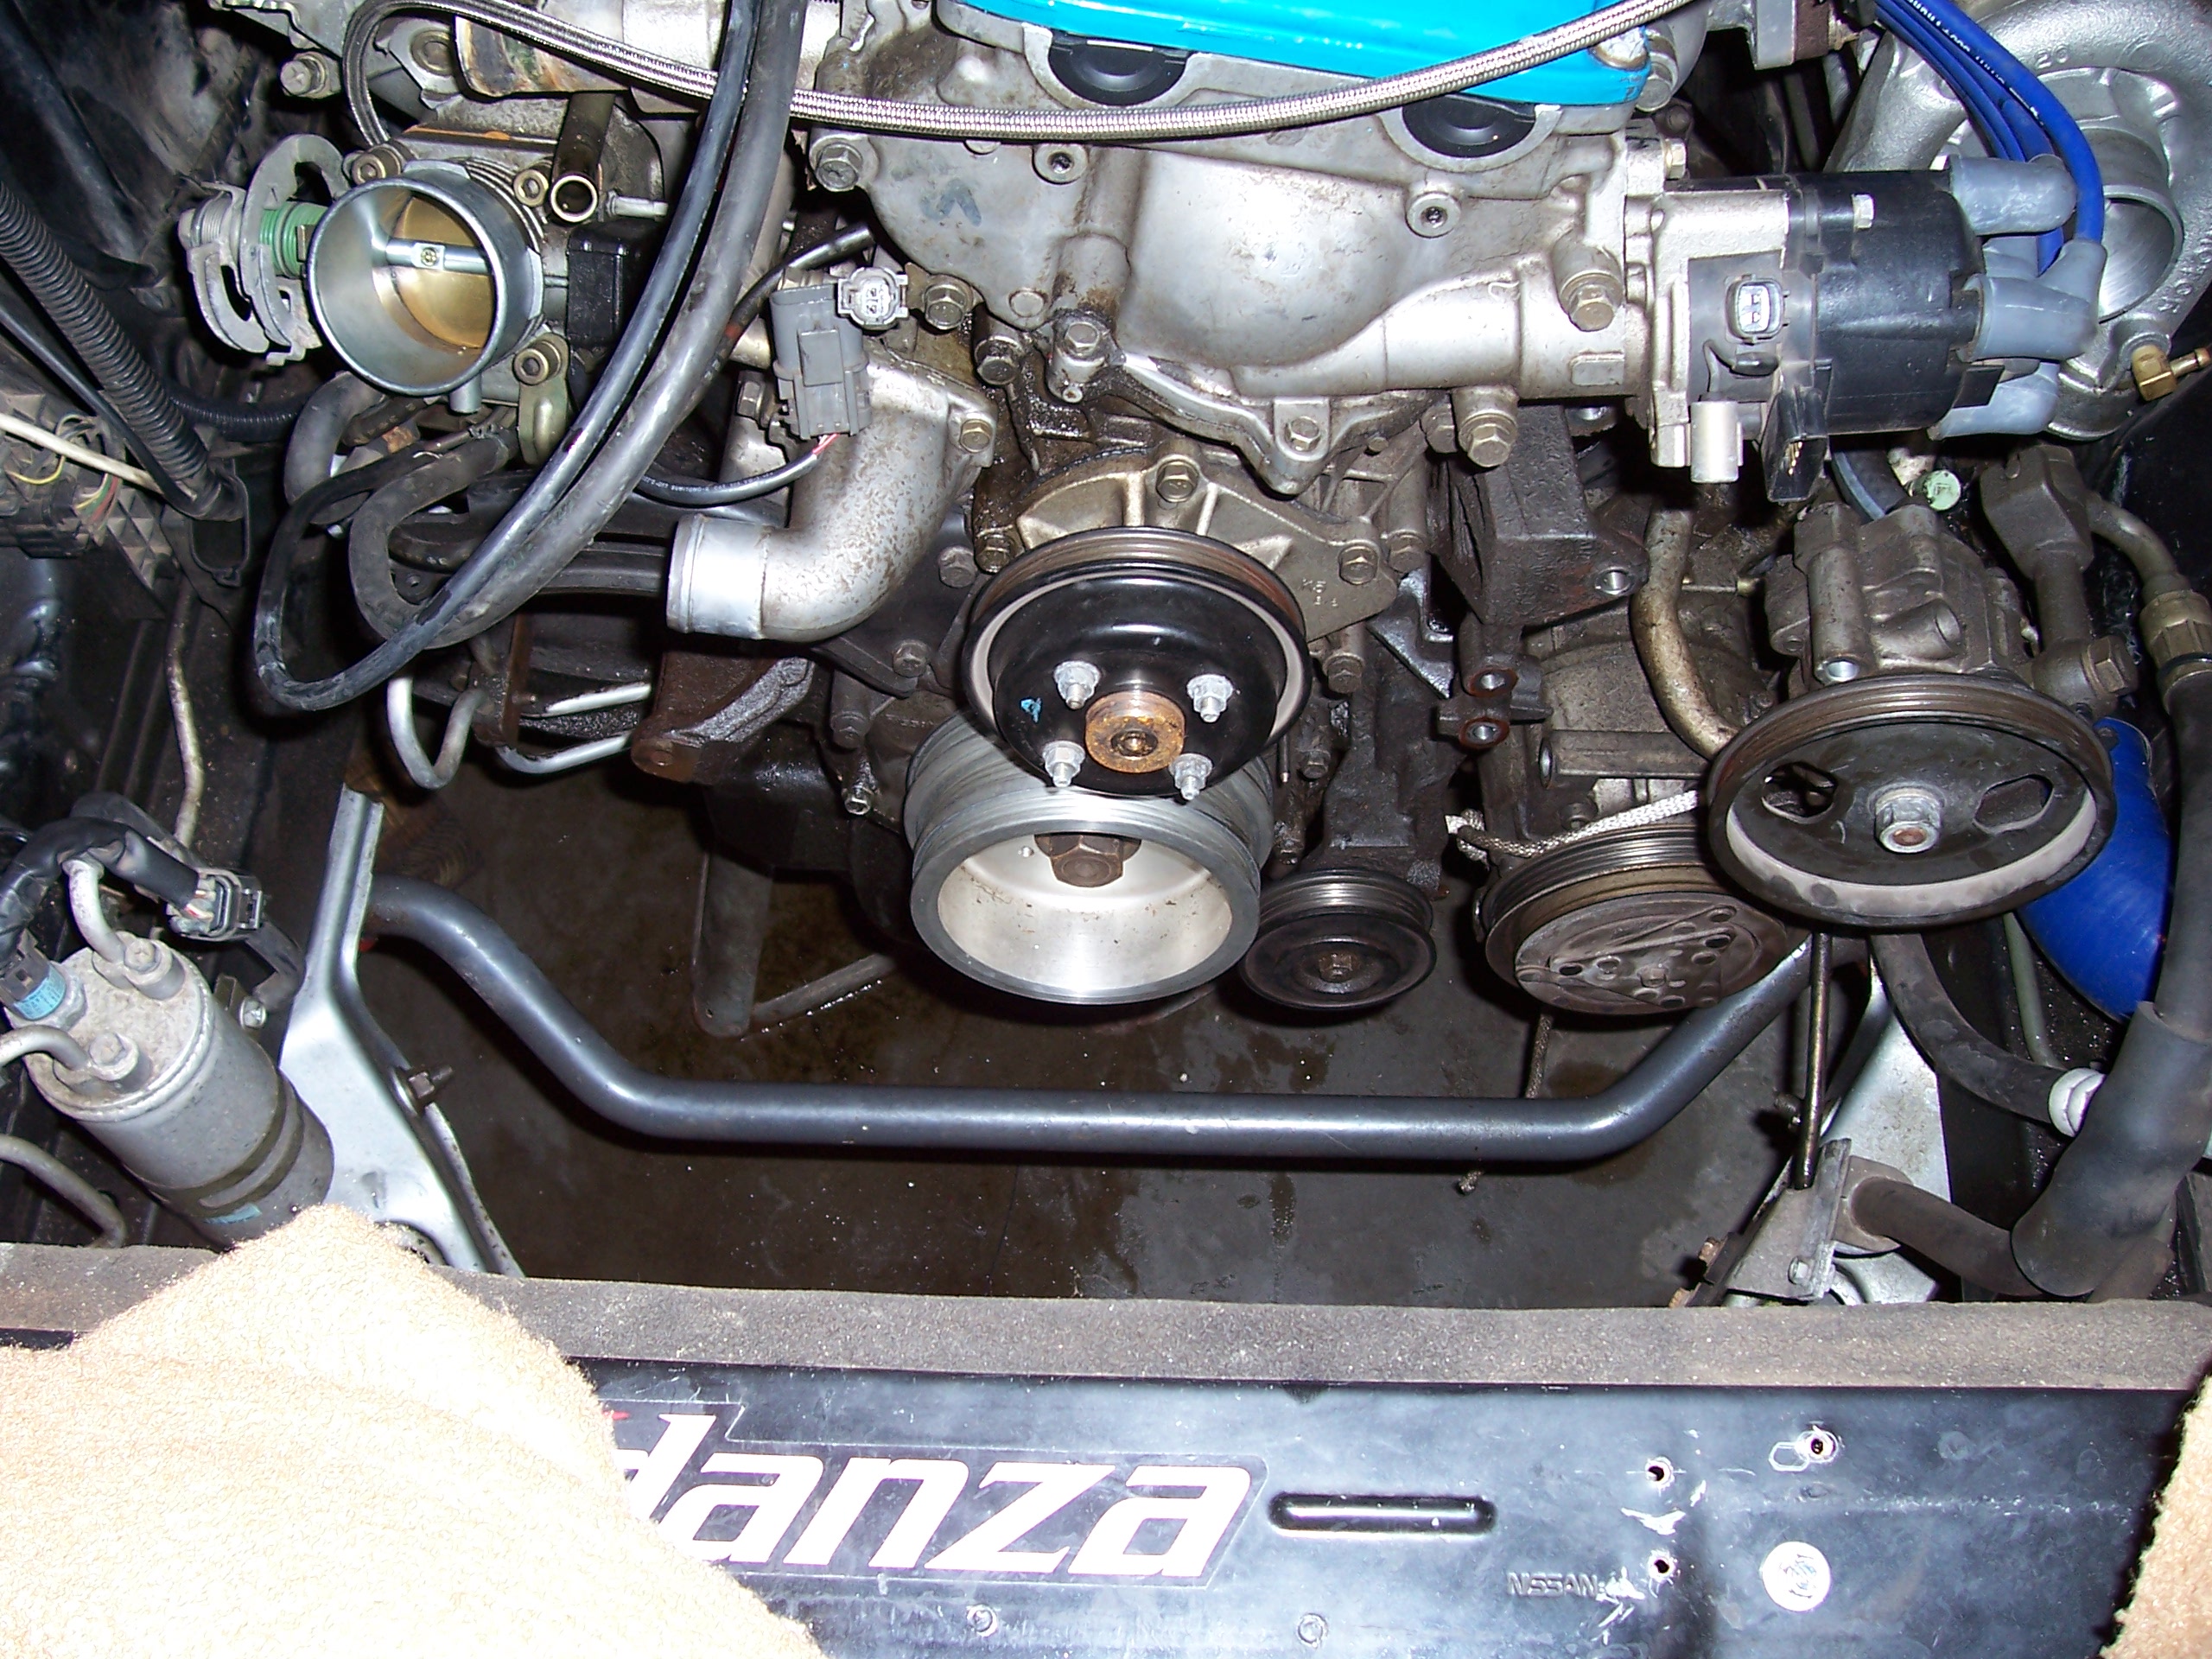
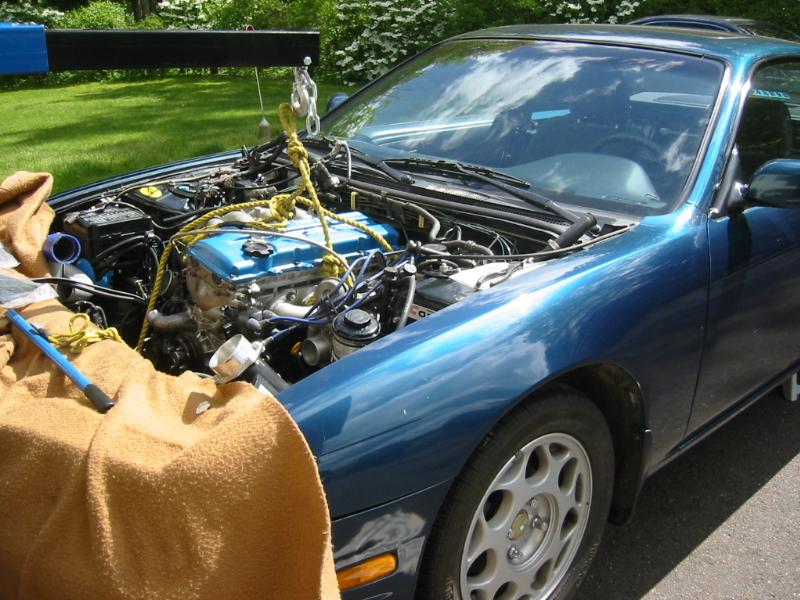
There's a lot more space in the engine bay when the radiator, alternator and intercooler/intake pipes are gone!
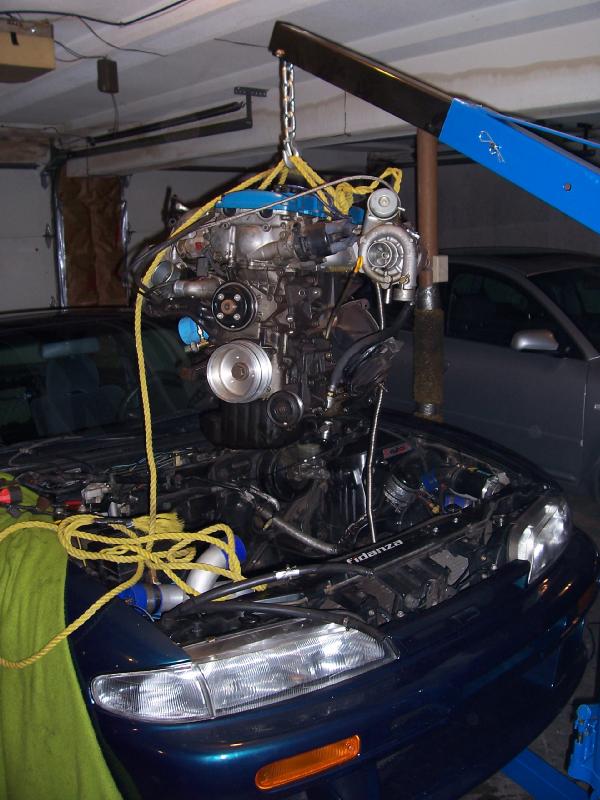
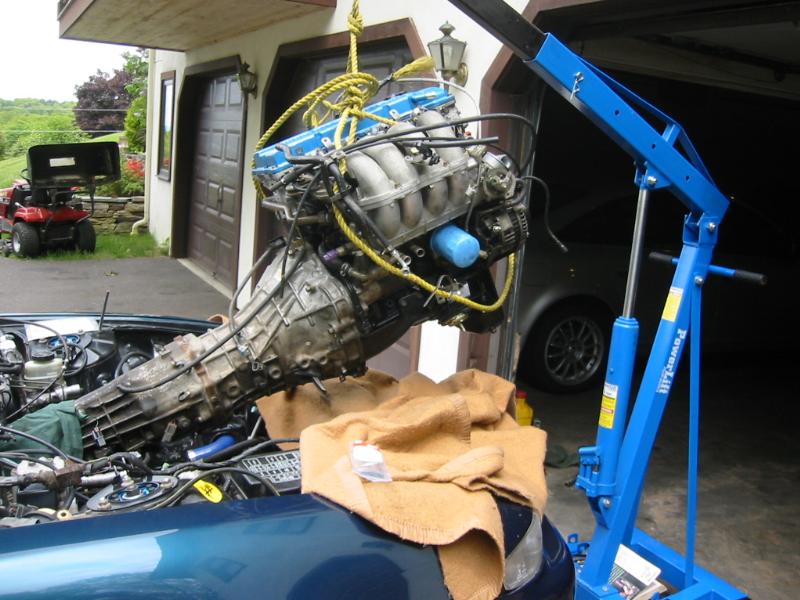
The easiest part of the whole engine-purging process was physically removing the engine from the engine bay. As soon as the engine was levied, I discovered that the only snag I missed that was still tethering the engine down was *one* small clip holding some wires in place. Other than that, I disconnected all the necessary stuff the first time around. Before removing the engine, we did not own an engine hoist, so I went in on one with my dad, who has always wanted one and who will make good use of it as well (he frequently pulls the engine out of his Austin Healey to rebuild in the winter). It was a very nice hoist from Autozone (perhaps the only good thing I had ever gotten from that store!), and it got a good helping of stickers from all the parts I used to rebuild the engine :-) And yes, the engine hoist was chosen specifically so as to match the paint of the valve cover, the color of the silicone couplers, and the color of the anodized adjustable camber plates!!
After the engine was removed, all that needed to be done was to remove the intake/exhaust manifolds, the actual motor mounts/transmission brace, and the valve cover/timing chain cover. Then it was ready for the machine shop.
In the following pictures, the flexible steel tube comes from the EGR valve and is re-routed into my downpipe; living in Connecticut with a 1995 car, I needed to keep all of the emissions equipment to pass the sniffer test, unfortunately.
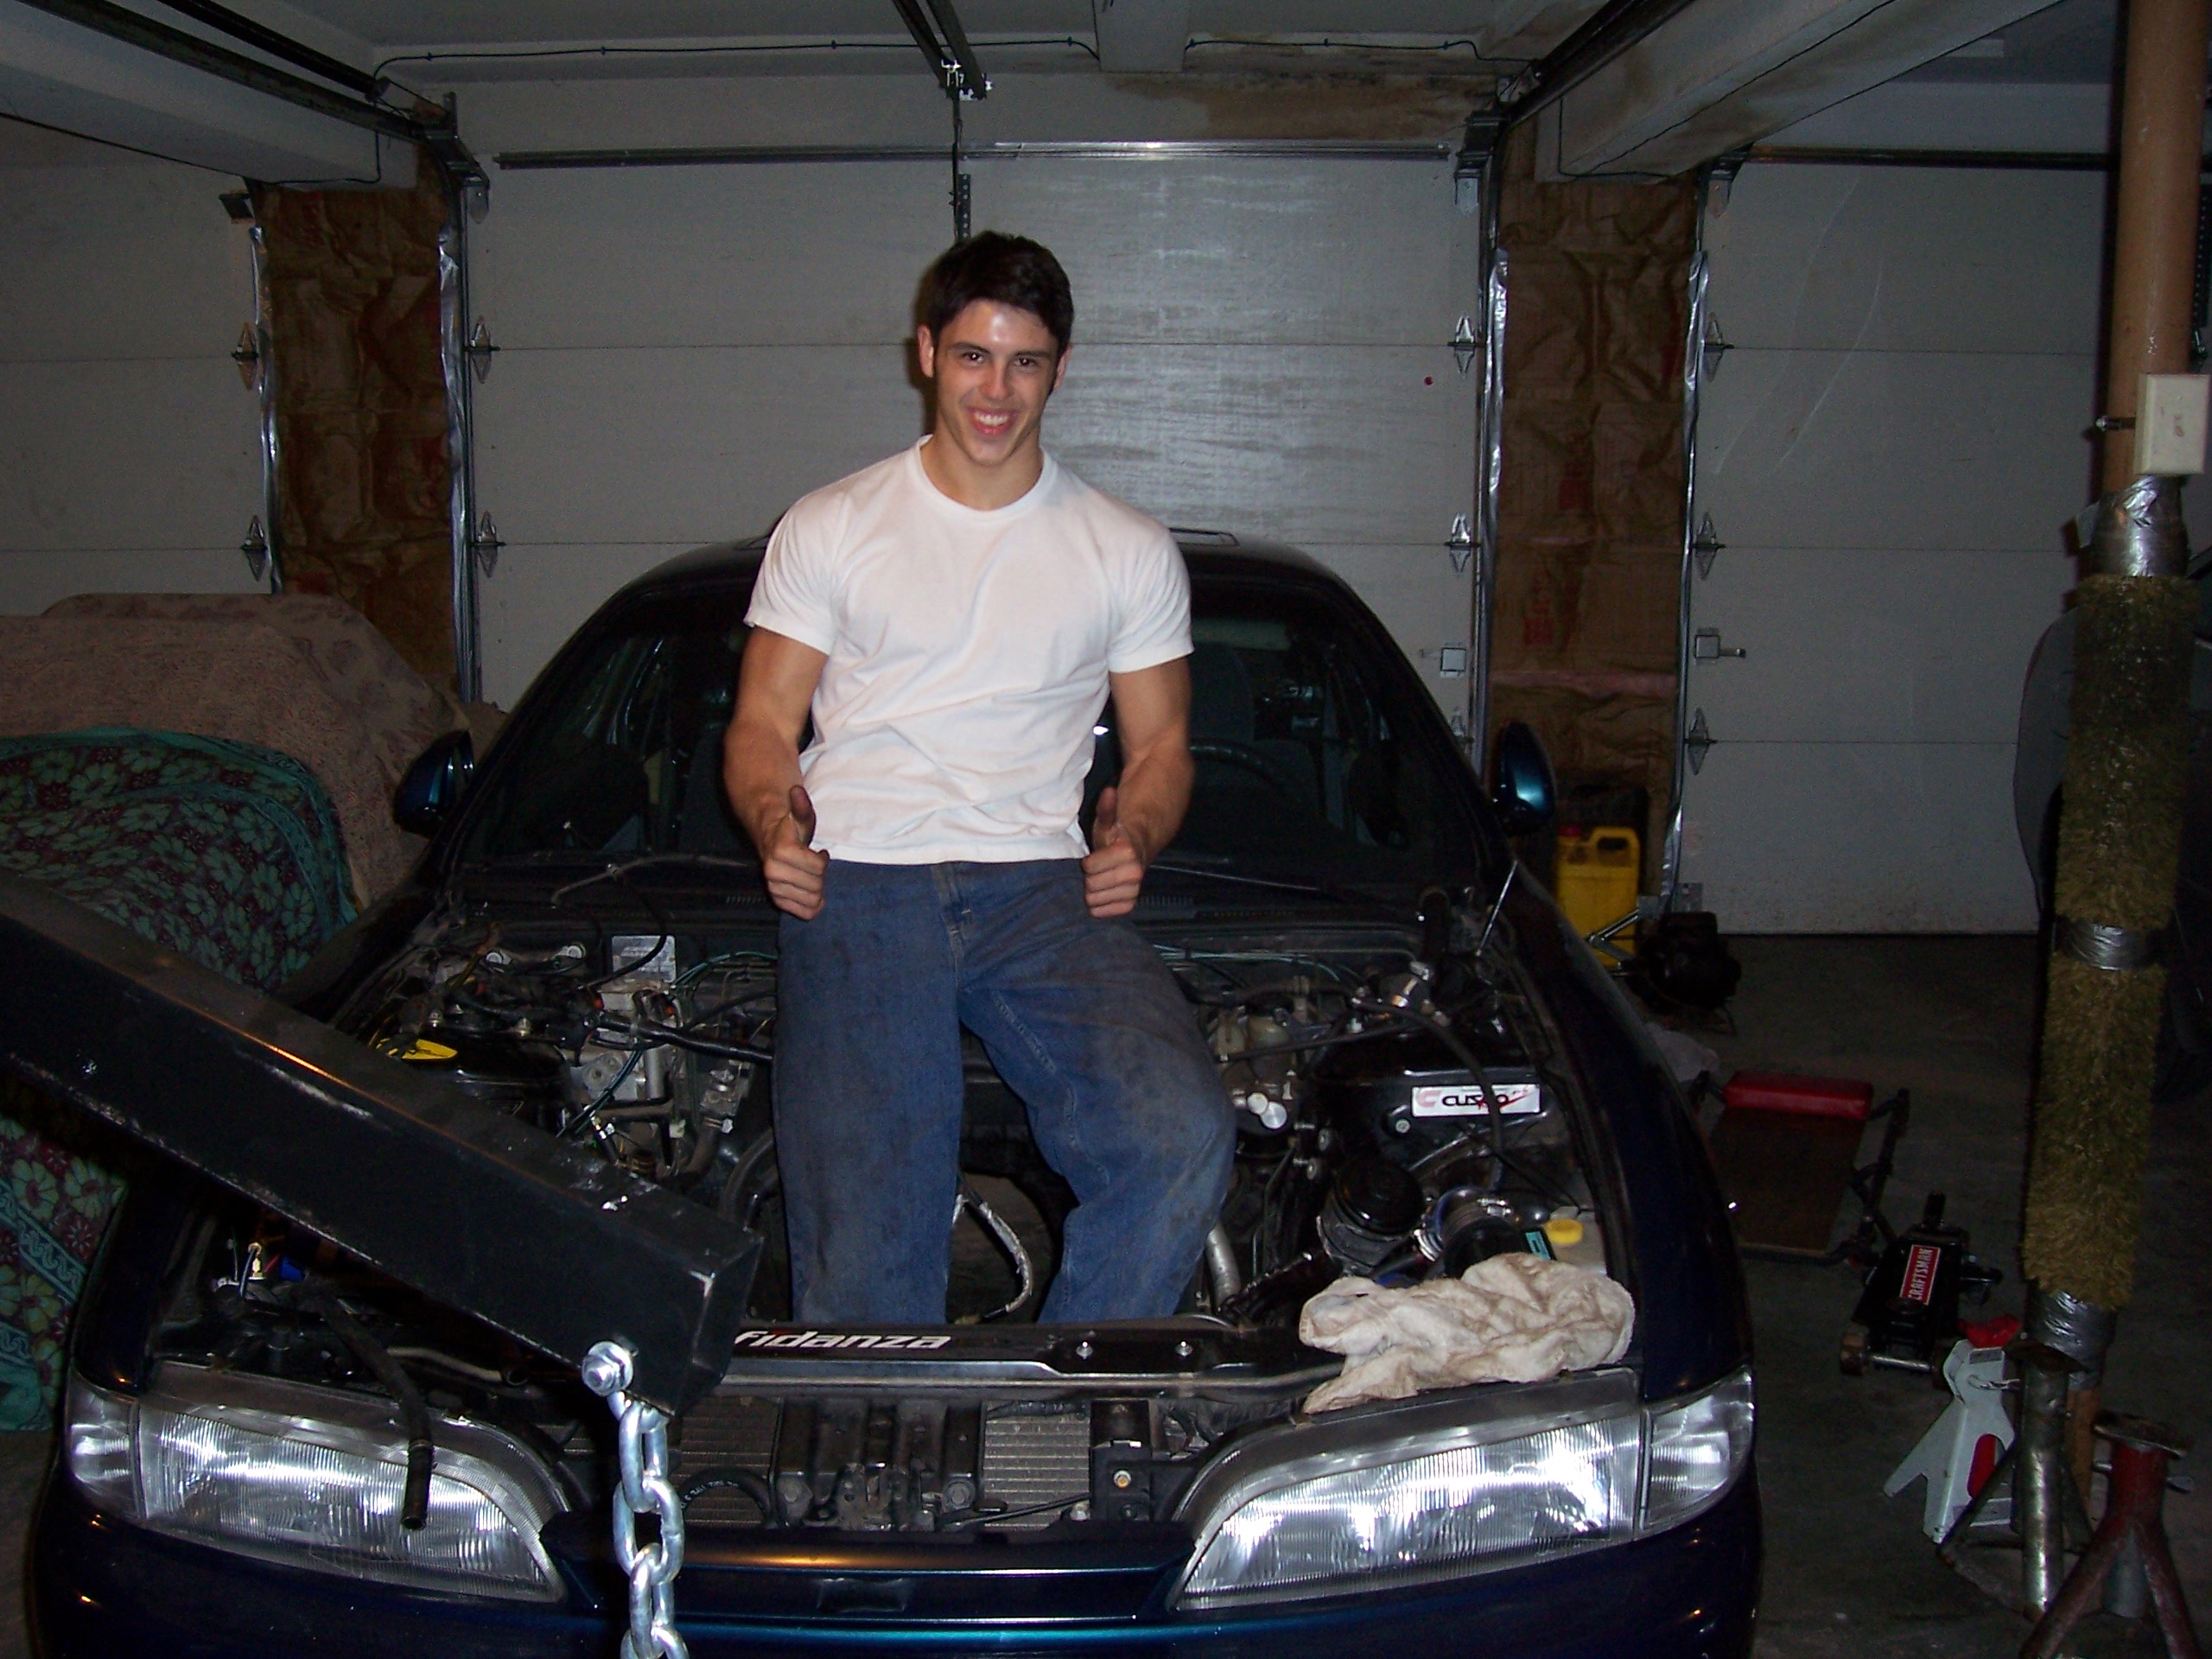
A job well-done, methinks!
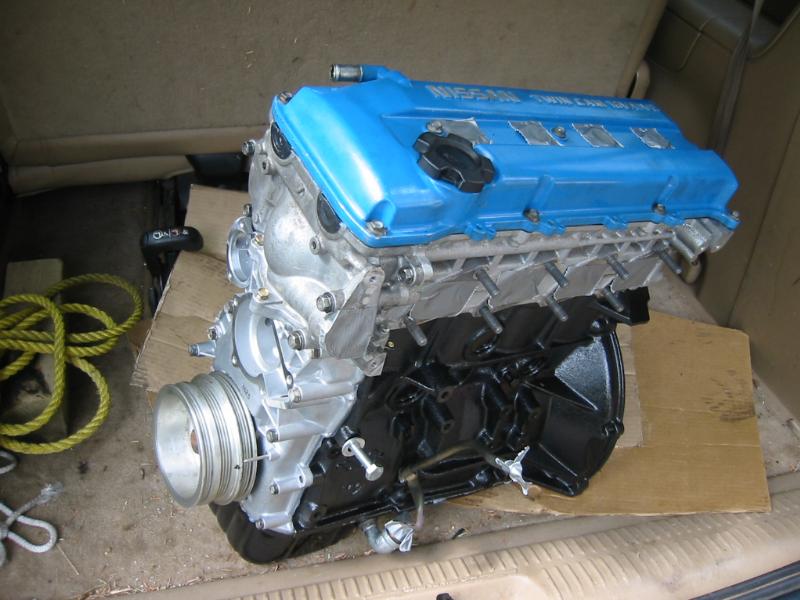
Weeks of (not so) patient waiting later, the engine was finally done!
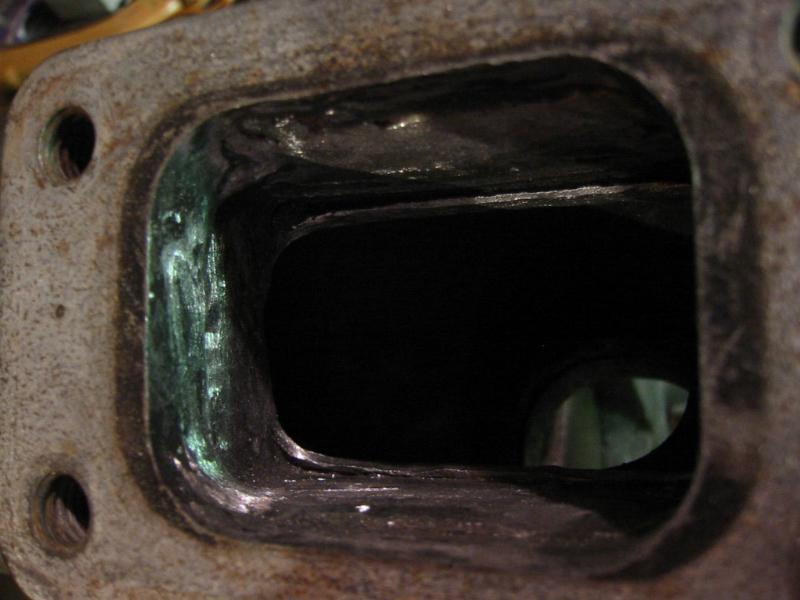
While the engine was being built, I figured it would be a good time to clean up my log manifold to maximize air-flow. Armed with a Dremel tool, $32 worth of dremel bits, and a LOT of elbow grease, I was able to gasket-match each of the individual runners of the manifold, as well as clean up an inappropriate amount of sloppy welds inside the turbo inlet flange. Each runner was widened by about 1/6", which is rather significant when extrapolated to 4 runners.

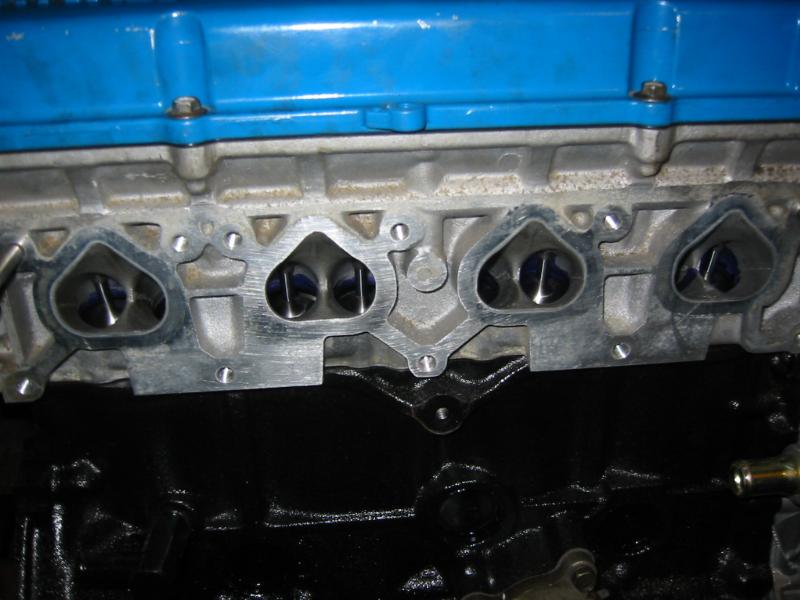
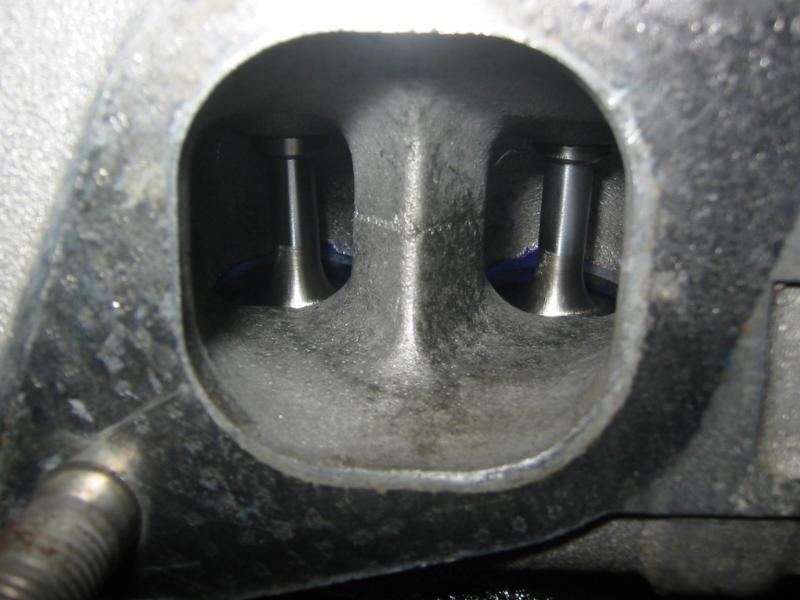
Some pictures of the built engine...(full specifications on "modification list" page)
The first two pictures are of the intake side of the head, modeling a fresh three-angle competition valve job and Ferrera "Super Alloy" oversized intake valves. The third picture is the exhaust side of the head.

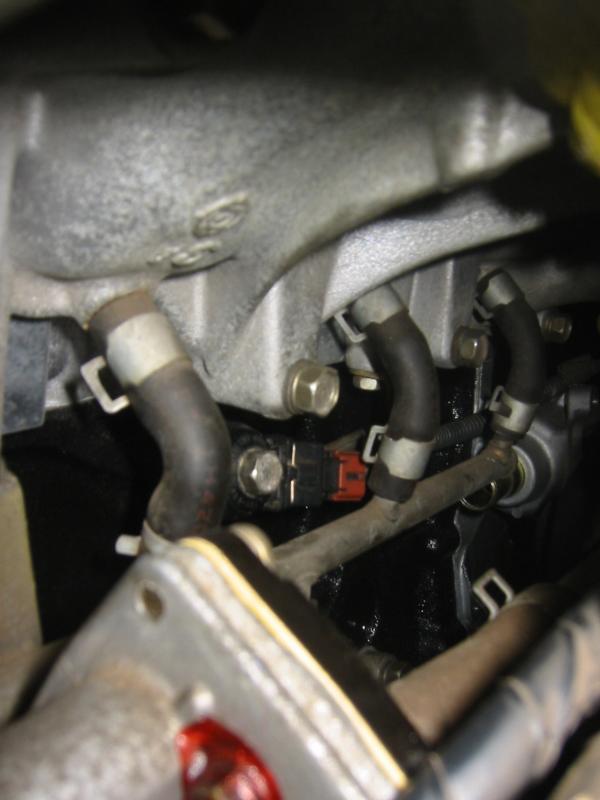
A word to the wise: install the knock sensor (the device with the red clip)) in the block FIRST, BEFORE torquing down the intake manifold and all the emissions junk. It will make life a lot easier!
Before installing the engine, the sloppy and soft OEM engine and transmission mounts were replaced with more solid NISMO units, which immediately eliminated clunks from shifting, braking, accelerating in any direction, etc...
When I removed the engine and transmission, I had my dad there to help. But as luck would have it, he was gone for a few weeks on business when I got the engine back, and so I endeavored to install the engine and transmission by myself. It would be a good learning experience at the very least!
First I needed to install all auxilliary components to the otherwise naked block and head--intake and exhaust manifolds, clutch, flywheel, pressure plate, distributor, starter, alternator, A/C condenser, etc.
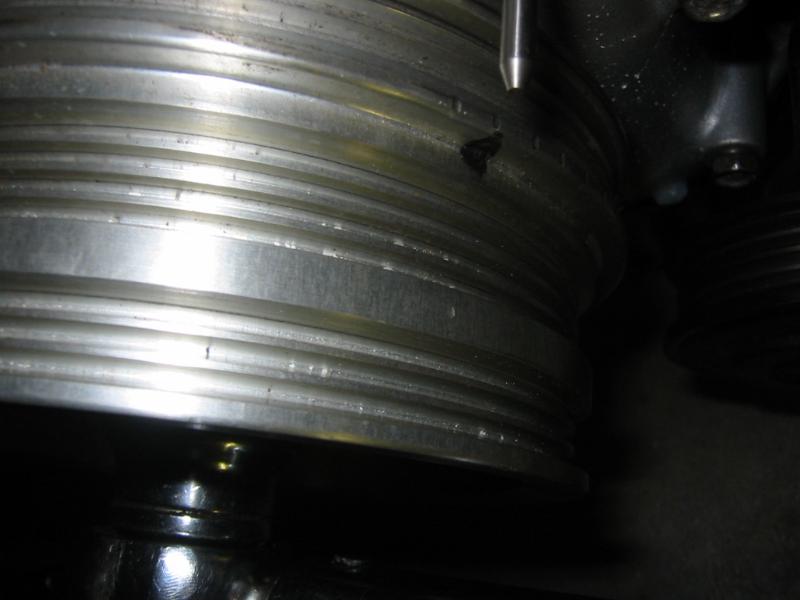
But before installing the distributor, I needed to make absolutely certain that the engine was on top dead center (TDC) of the compression stroke of the number one cylinder (closest to front of car). In the picture below, the second notch from the left (with the sharpie mark) on the ASP crank pulley is TDC.
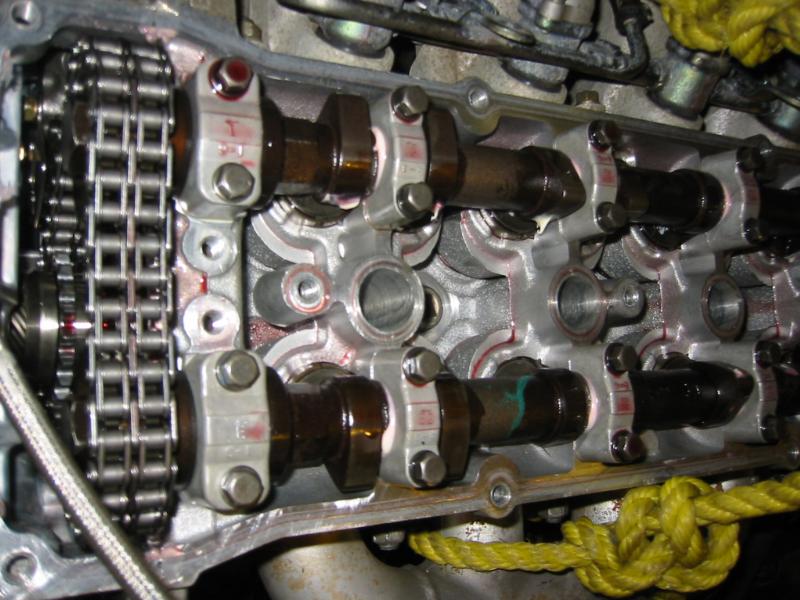
Just to make absolutely certain that the engine was indeed TDC, I removed the valve cover to make sure the cams were facing in the right direction, that is, with both cam lobes on the #1 cylinder pointing outward, lining up with previous punch marks on the cam journal caps. Note how clean the head is!
With the #1 cylinder at TDC, the distributor could now be installed. As can be seen in the picture below, the distributor tang lines up perfectly with the number one plug wire, just where it should be when installing if the engine is at TDC on #1.
Time to put 'er back in.
Instead of installing the engine and transmission separately, I installed the engine and transmission as one piece to make it easier for me (I was essentially working by myself at this point, but was able to recruit my brother during the hardest part that required two sets of hands. Thanks Eric!
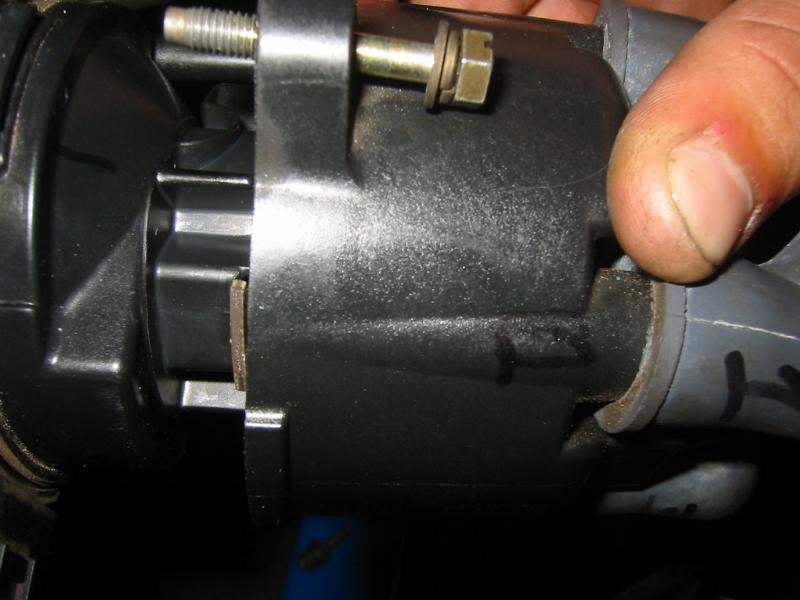
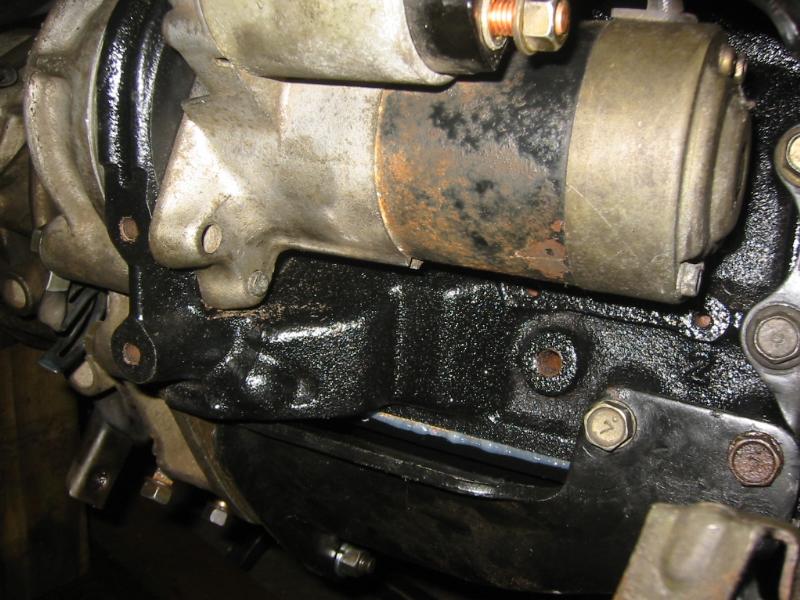
After the engine, transmission, and all of the supporting components were installed, I primed the engine with oil by cranking the engine over with the fuel pump fuse removed, and the turbo oil feed line removed. Once oil started coming out of the feed line, I knew there was oil pressure in the engine and that it would be safe to start. Of course, so far in the saga of my 240sx, it would be rather incongruous if the engine actually fired right up on the first try! It did not. After a lot of troubleshooting and hours spent on Nico's forums trying to find solutions, I decided to remove the starter and have it tested at Autozone. It turned out that the starter was functioning perfectly fine.
Uh oh...
At first, I assumed that the engine was getting spark, and so I thought that it was either a lack/surplus of air or fuel preventing the engine from starting. The reason for this assumption was because I had a battery charger (set to "engine start") on my battery when I went to first start my car, and my battery seemed to be in decent shape. Surprisingly, yet thankfully for the low price of remedy, the culprit turned out to be my battery. I bought a new one and she fired right up. I let out a yelp of excitement that simultaneously expressed months of frustration, years of pining, and that glorious shot of elation felt when one finally succeeds--by himself--in such a massive undertaking. Before I purchased my car, I would have been hardpressed to explain how exactly a spark plug worked, nevermind forced induction. And here I was, installing an entire engine, transmission, and turbo kit designed by myself! I felt understandably proud of the achievement.
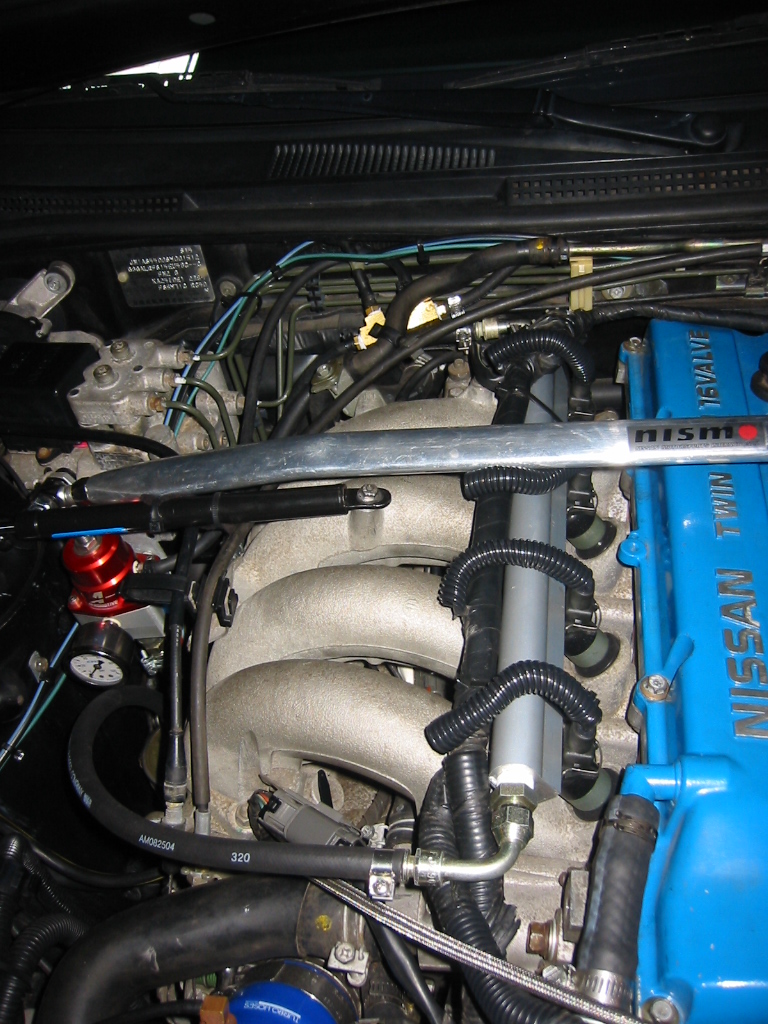
I also upgraded the fuel system after getting the engine rebuilt. I was now (and still am) running MSD top feed fuel injectors (50 lb/hr or 525 cc/min, versus the stock 260 cc/min fuel injectors and the 370 cc injectors of my old setup), a Phat KA-T billet aluminum fuel rail, which is by far the best quality top feed KA fuel rail on the market, a 1993 Ford Cobra MAFS, and a new JWT ECU tuned for all of the aforementioned. Unfortunately, it all cost quite a bit of money, not to mention all of the hidden costs. For example, 5/16" fuel injection hose goes for $7 a foot (NEVER EVER use regular SAE 30R7 fuel line, always use SAE 30R9. Some punk at Autozone sold me the former and luckily I caught it before installing it and destroying my engine from fuel leaks). Also, the 90 degree -6 to 5/16" hose barb elbows cost $20 a pop at Pegasus Auto Racing, and the MSD injector clips/wires were another $20.
To attach the existing fuel injector wires to the new wiring harness (by the way, it doesn't matter which wire goes to which on the MSD wires), I used marine-quality waterproof heat shrink butt connectors that form a durable connection. Soldering would have been better than butt connectors, but I had no soldering ability, and this worked perfectly. Here's some pics of the new rail, which looks vastly nicer/cleaner than the old side feed injectors/corroded rail. I also added some wire insulation over the 2 smaller wires to make it look cleaner and protect the connections from heat.
The ironic foreshadowing of breaking-in the engine: keyword? "break."
And so with the new fuel system, and a rather undersized T3 Super 60 turbo, the engine was ready to be broken in. There are two schools of thought in the good ol' bench-racing debate over the best way to break-in a new engine. Some use what I consider a "run and gun" approach--that is, as soon as the engine is running, they would run it as if it had never been rebuilt, and even a little harder (getting under boost immediately if the engine is turbocharged). The other school believes the best way to break-in an engine is gradually and gingerly, and indeed this certainly seems intuitively correct. I went with the latter technique, trying my hardest not to hit boost for the first 500 miles (max boost the engine saw was 2 psi, going uphill, e.g.). The next 500 miles I gradually got into boost, ending at 10 psi of pressure. After that, knowing (err...thinking) the fuel system and engine could handle it, I turned the boost up to about 16 psi.
I would soon eat my words--and they tasted like twisted shards of OEM connecting rods...This page is already extremely long, so go to Turbo-Part 4 for the rest of the story...